Protects your WordPress websites against password leak effectiveness, by deactivating the login depending on the value of a constant defined in a mini-plugin. It is possible to blank the login dialog out if it is convenient to access the WordPress Admin area through the hosting platform exclusively. The authentication cookie’s lifespan may be extended to a configurable period of time.
Why it matters
A very common vulnerability to SQL injection may pave the way to downloading the WordPress database, where login information is stored. Since password hashes are convertible to clear text (using online libraries), the non-stop availability of a fully functional login screen is incompatible with cyber security.
Security would be compromised, too, if the login dialog was removed but would stay in intermittent use. Blanking the dialog out is recommendable only if the dialog is not used any more. Else, a bot may scan the login page and send an alert as soon as the dialog shows up again.
The front end must not be changed depending on the login status. Changes must be constrained to the backend, so as to stay invisible. Detecting the login status must involve actual login attempts, for WordPress to block them (but that depends on the criteria applied to assess login attempts as successful).
Activate
The first step is to define an additional constant, used by WordPress but editable without it. This constant is a Boolean and controls availability of the login process.
Best is to add a mini-plugin by using the included template file tpl-mini-plugin.php. The login control constant definition is already included:
// Turn login off by replacing true with false.define( 'ANRGHG_WP_LOGIN_ACTIVE', true );
In your browser
The following assumes self-hosted WordPress. Most hosting providers offer a way to access files and folders using the common HTTP(S) protocol. These screenshots are taken on the cPanel file manager.
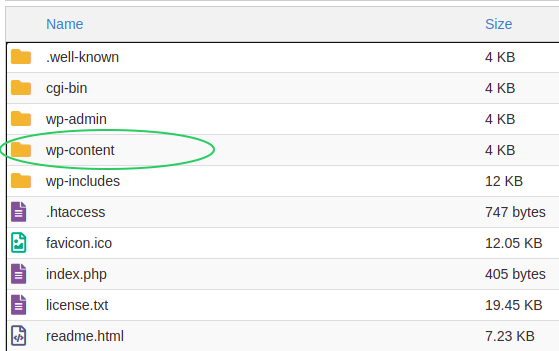
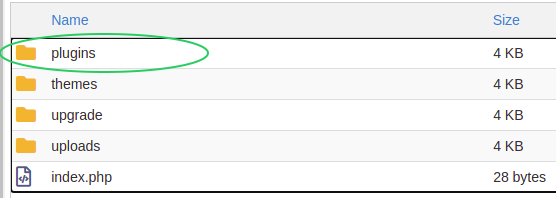
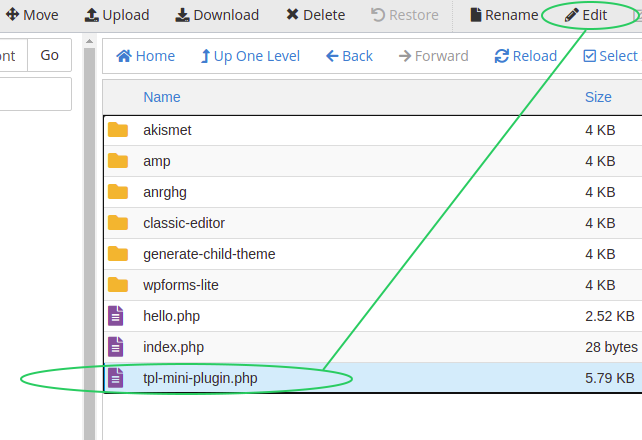
Step 1: navigate
In this example, the cPanel File Manager is used to access, move and edit the mini-plugin template file:
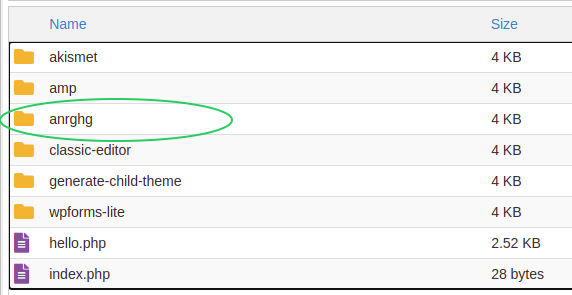

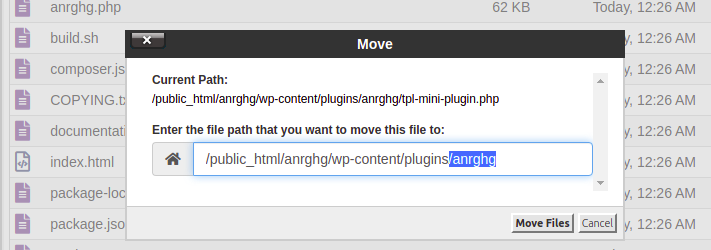
Step 2: move
Moving the mini-plugin file tpl-mini-plugin.php out of the plugin folder:
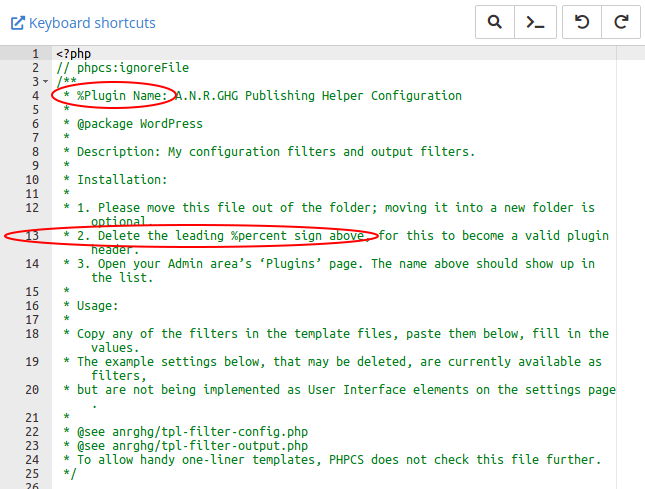
Step 3: make plugin
The file starts being a valid plugin as soon as it has the string “* Plugin Name:” in the file header at line start. To achieve this, the leading percent sign needs to be deleted:
Step 4: change constant
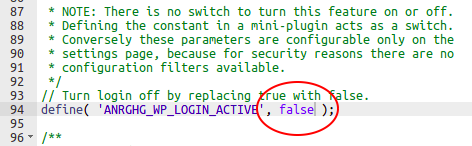
The next step requires scrolling down to line 94 where the login control constant is defined:
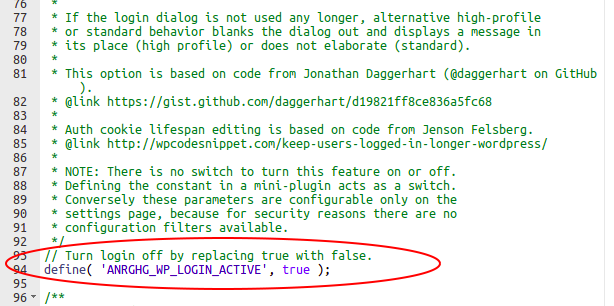
To turn login off, the Boolean keyword true needs to be replaced with its counterpart false as in this screenshot:
The changes are saved after clicking the “Save Changes” button in the top right corner of the cPanel file editor:

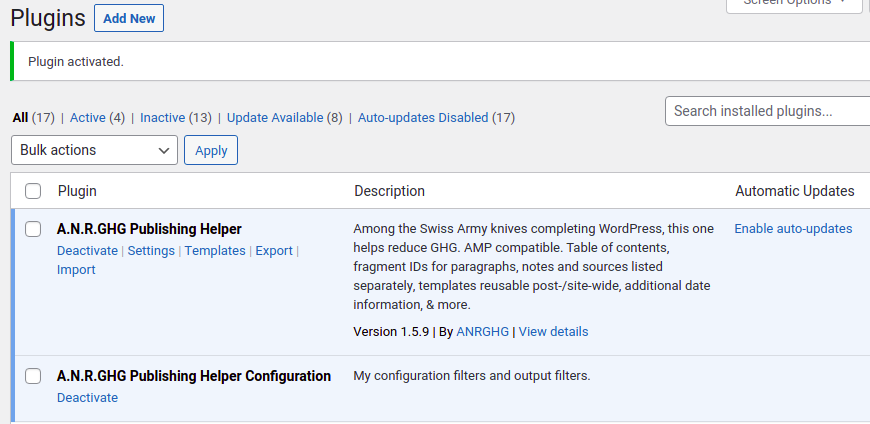
Step 5: activate
Once ready, the new mini-plugin needs to be activated:

In multisite networks, the Network Administrator needs to decide whether logging in should be network-deactivated. That is not recommended as it may cause issues by lack of coordination.


Using an FTP client
This is not in the browser since current FTP clients are standalone apps. The following screenshots are taken on FileZilla.
This process basically involves 3 steps and refers to the more detailed steps above.
Step 1: download
After connecting to an FTP account and navigating to public_html/<path>/wp-content/plugins/anrghg/tpl-mini-plugin.php, the file can be downloaded:
Step 2: edit
In a local text editor, previous steps 3–5 need to be done likewise.
Step 3: upload
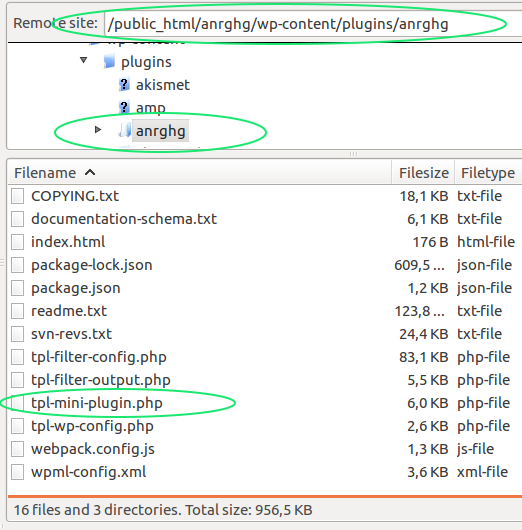
Before uploading the resulting mini-plugin, the FTP client needs to go one level up into the parent directory public_html/<path>/wp-content/plugins/.
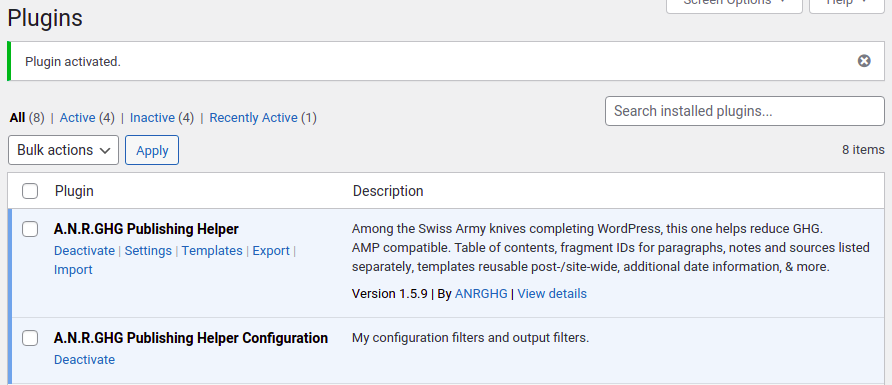
Step 4: activate
This last step requires access to the plugin list and cannot be done by FTP. It is similar to step 5 above.
Configure
When configuring the auth cookie lifespan, please make sure that the low profile login screen option is chosen, with the login dialog unaltered while sending auth cookies is deactivated. This option is selected by default, and a warning displays next to the setting:
Other than low profile would pose a security threat due to the state being detectable. Please avoid High and Standard profiles unless logging in on the Hosting Platform exclusively.
Security > Login page profile
Published: